Source:Best Coffee > News Author:qjroot Published:2025-11-16 14:24:58

For many coffee enthusiasts just getting into the scene, latte art can be quite appealing~ It might seem pretty simple at first glance—just pour and you get a little heart or tulip...
But when you actually try it yourself, you might find—wait, why is the milk coming out in clumps? You can’t even make a swan or some etched patterns, let alone a simple heart!! Don’t worry, FrontStreet Coffee is here today to share some tips on latte art~
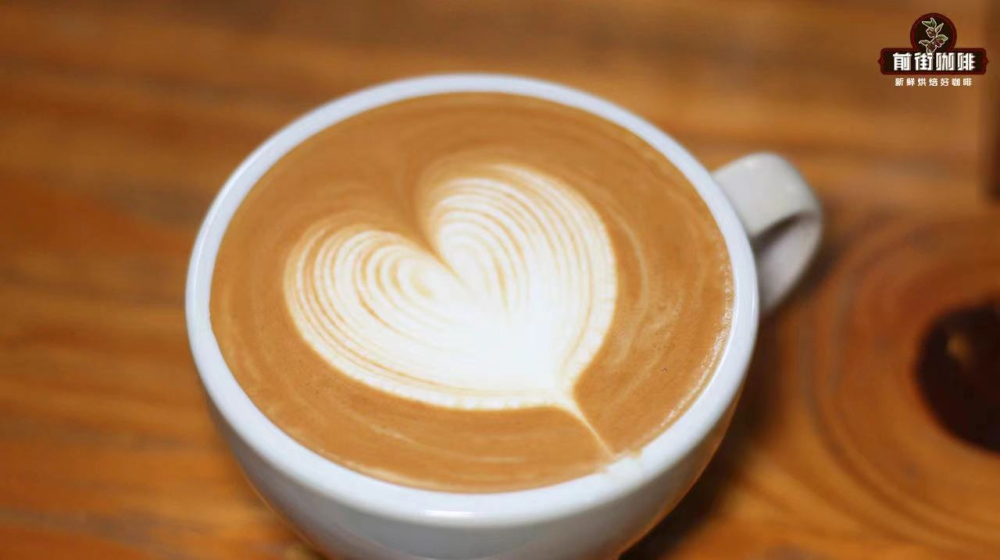
1. Milk Foam with Good Flow
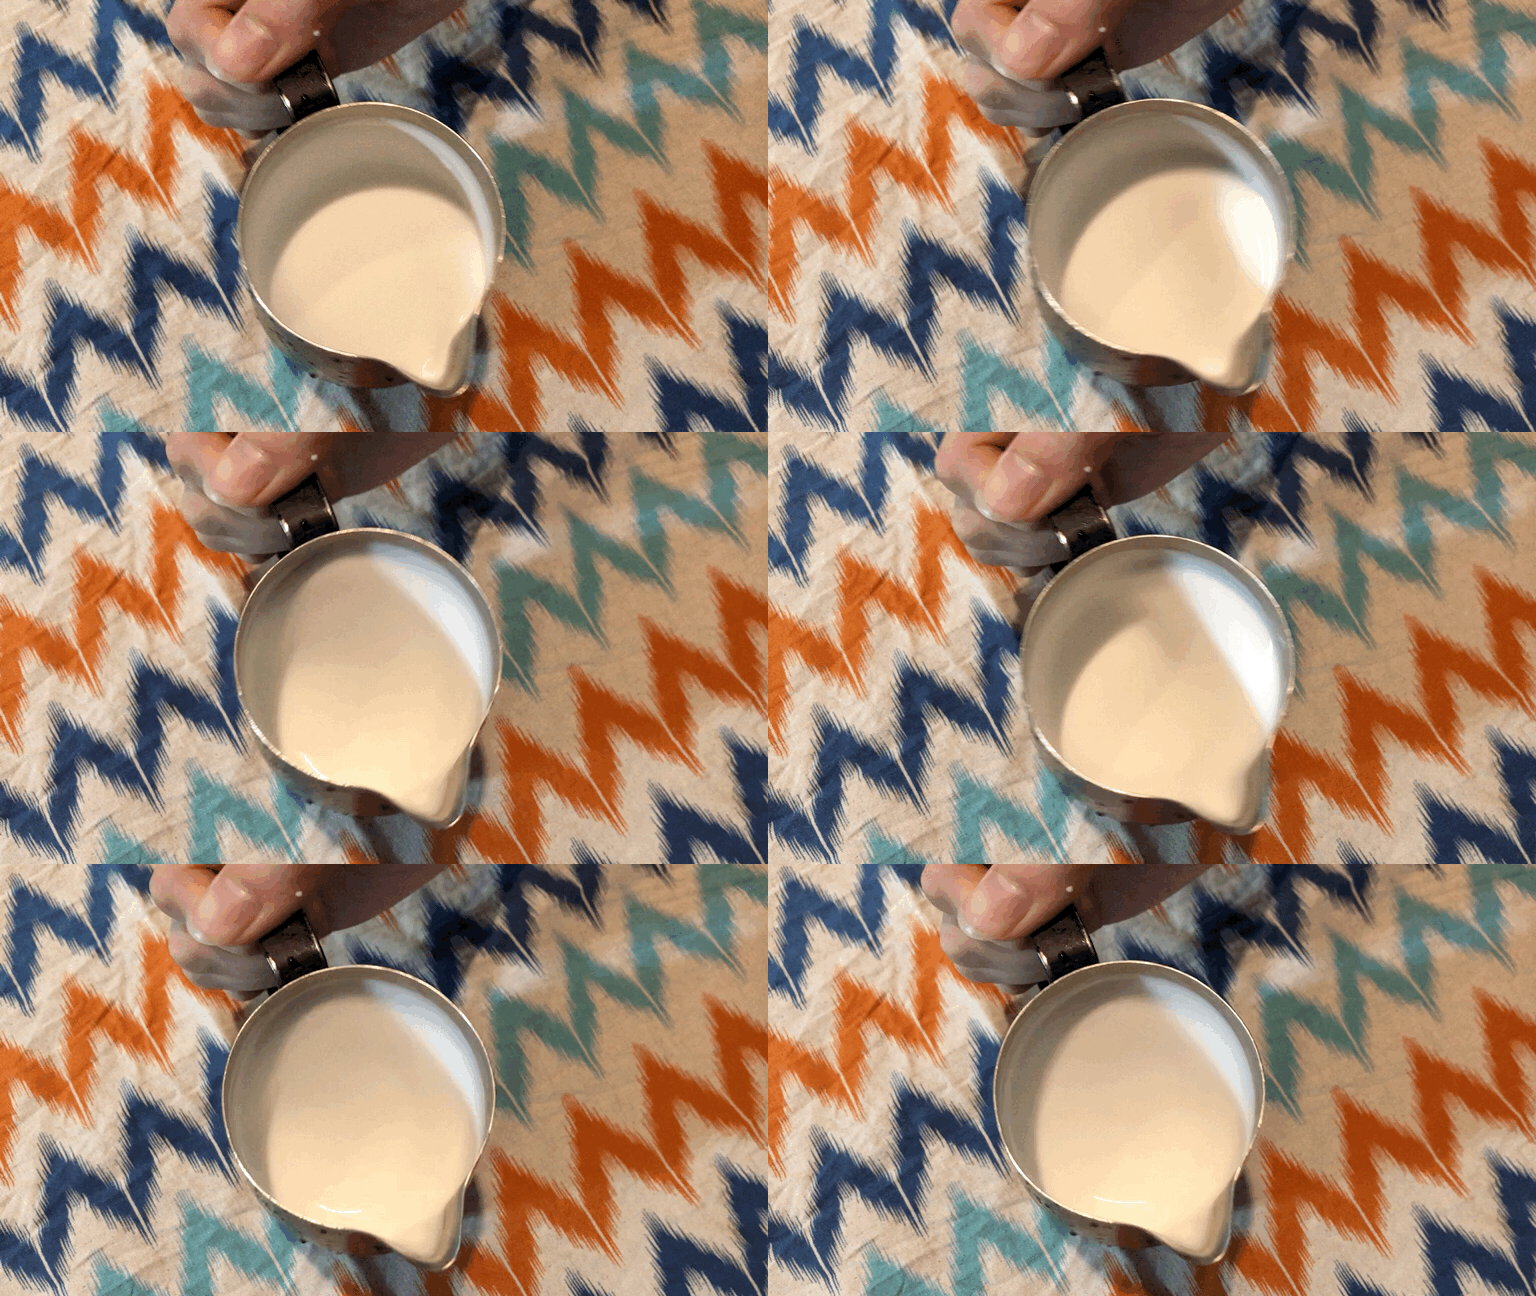
Before we can create latte art, we need to have a pitcher of properly textured milk foam~ The foam we use for latte art should be neither too thick nor too thin~ Otherwise, it will just float on top of the coffee when poured. So how do we get the right milk foam?
Generally, we use inserting about 1 cm as the baseline. If the steam from the espresso machine is too strong, creating a large vortex or turbulence, you can insert the steam wand deeper (e.g., 1.5 cm). If the steam is not strong enough, you can place the steam wand shallower (e.g., 0.5 cm or less). This allows the milk to form a small vortex quickly without spinning too violently or creating turbulence.
| Proper Milk Foam

When steaming milk, you can hear a hissing sound. If you don’t hear it, it may be because the steam wand is inserted too deep, so you can slightly lower the pitcher. If there’s no hissing or no sound at all, it means the milk isn’t being textured. When the milk expands to about 80% full, tilt the steam wand diagonally to position it to the right of the center of the pitcher, near the edge, causing the milk foam to roll in a vortex. This mixes the microfoam with the milk and also helps to texture the foam further.
Also, make sure the milk isn't too hot, but don't let it get too cold either. Generally, we recommend a temperature between 60–65°C. If the temperature is too high, on one hand it can easily scald you, and on the other hand the milk foam becomes unstable. Moreover, if the milk is too hot, the proteins inside will change, and it won't taste very good either.
2. Pouring (Fusion)
Before you start latte art, there’s another very important step: pouring (also called fusion). To many people, pouring might seem unimportant—just swirling the milk foam around a bit, right?
But pouring actually lays the foundation for latte art. The quality of your pour determines how the coffee will taste. Typically, pouring is done with a relatively fine stream of milk. After pouring, the milk coffee should have fluidity. Additionally, the size of your pouring motion is closely related to the thickness of the milk foam you’ve steamed—the thicker the foam, the poorer its fluidity, so you’ll need a larger pouring motion to ensure the surface of the milk coffee remains fluid~
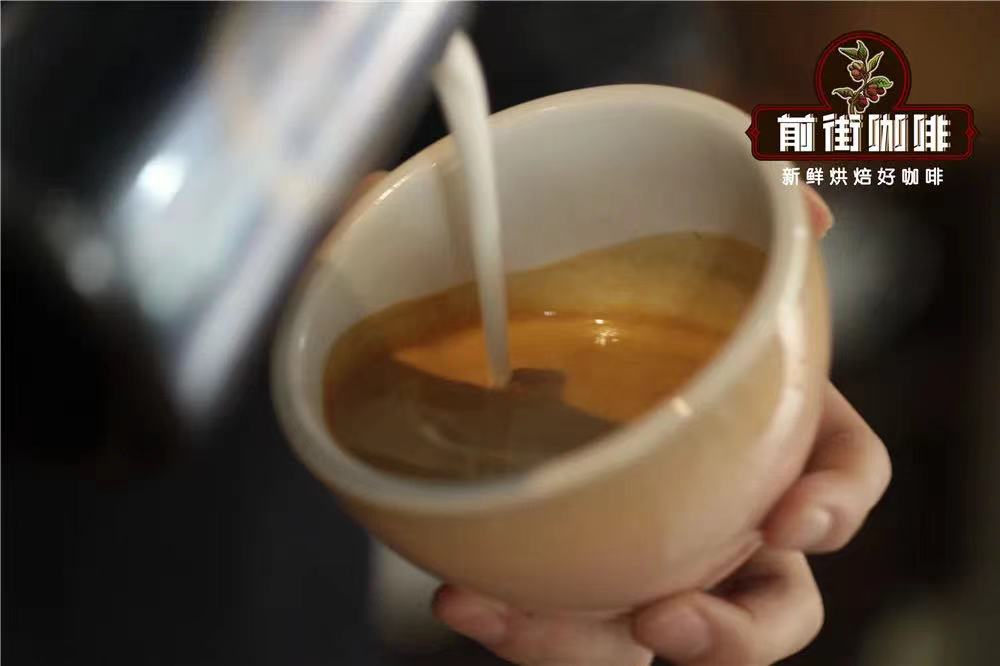
Before practicing with milk, you need to practice with water. Try tilting the coffee cup at a 45-degree angle and pour the water into the cup with a consistent flow. Start by pouring at a fixed point, then try pouring at varying heights and speeds, and pour in circles. Finally, combine varying heights and circular pouring. Be sure to slowly straighten the cup-holding hand. Remember, the water stream must not break before you start creating latte art.
3. The Way to Hold the Pitcher and Cup
How you hold the cup while pouring latte art also matters. Do you hold it from the bottom, the side, or the handle? No matter what, the most important thing is that it’s comfortable and flexible for you—otherwise, you may feel awkward when creating patterns later. Generally, we hold the cup with the handle facing us so that when serving to customers, the design is directly facing them.~
When pouring latte art, tilt the cup slightly to bring the pitcher closer to the coffee surface. Otherwise, if the cup is too upright and the distance from the pitcher is too great, it becomes harder to control.
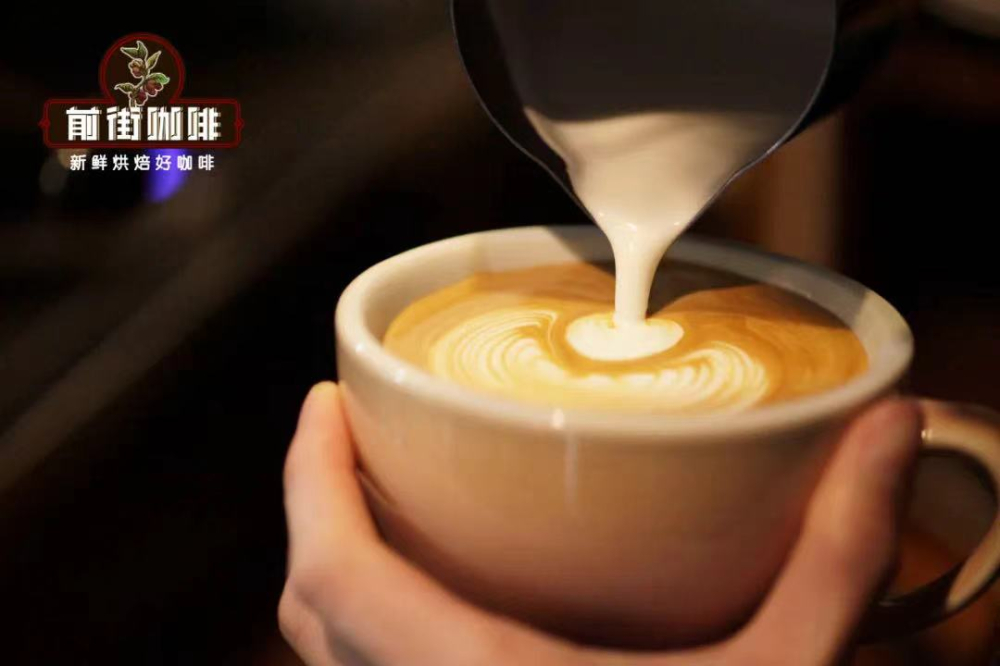
There are two common ways to hold the pitcher: one is to grip the handle, and the other is to pinch the handle. Gripping the handle allows you to use wrist strength for broader, more dramatic movements, creating more elaborate designs; pinching the handle lets you make fine adjustments with your fingers for more delicate patterns.
Related Reading


Comments (0)
Loading comments...
You May Be Interested



Trending Reviews
Popular Videos

With you, wherever you are! We provide useful features to help you find new things you'll love