Source:Best Coffee > News Author:qjroot Published:2026-01-10 17:45:35

Many friends find, once they actually start brewing coffee, that pouring water is not as easy as they imagined.
The stream surges and shrinks, stops and starts, runs high then low, and the hand shakes as much as the cafeteria lady at school - these are all par for the course when beginners first try pour-over brewing. And the coffee bed left after brewing perfectly reveals how uneven the pouring was.
The reason is simple: "water control" is a skill that requires practice. When we are not skilled enough, have not yet built muscle memory, and have not yet bonded with the pour-over kettle, it is very hard to pour perfectly. But put another way, once we have brewed many times and our skill level rises, the stream naturally becomes something we can command at will. Normally, a complete beginner who practices for about two and a half weeks can pour the desired stream effortlessly.

Obviously, for many friends this period feels rather long. And if we want to shorten it, the best approach is to master some small pouring techniques in advance. In the fastest case, you can pour a relatively stable stream in about 3 days.
Qianjie believes that beginners are still at the stage of just getting familiar, so apart from the grinder, which should be a better one (with more budget invested), other tools can actually make do for now; then, with a low-spec setup, try different types of coffee beans, and thereby gradually improve both brewing and tasting abilities.

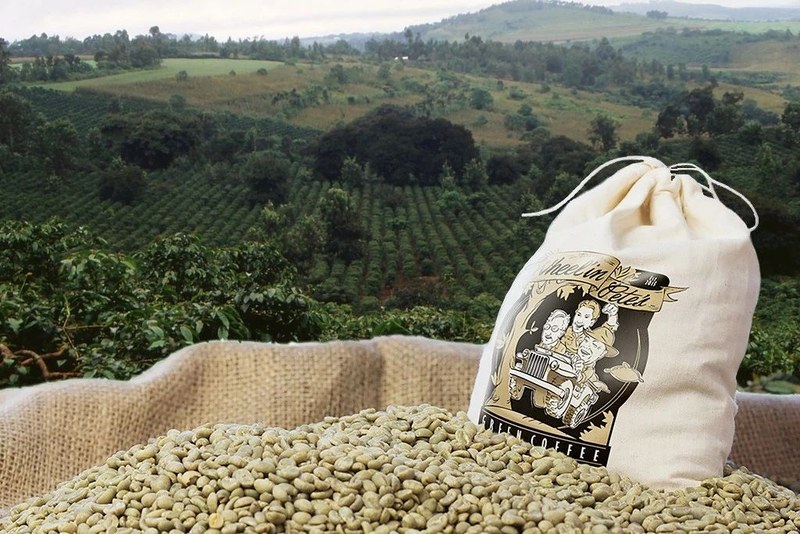
Coffee beans intended for pour-over are generally single-origin coffees, from a single origin, usually in specifications of half a pound or less; different regions, varieties, processing methods, grades, and roast levels all affect the final taste of the coffee. The most common problem for beginners is that they easily "blindly follow the crowd" and buy some expensive coffee beans, which are often labeled with words like "competition grade", "auction lot", "rare variety", and in the end, before they even understand what the flavor is, they have used up the whole bag of beans.
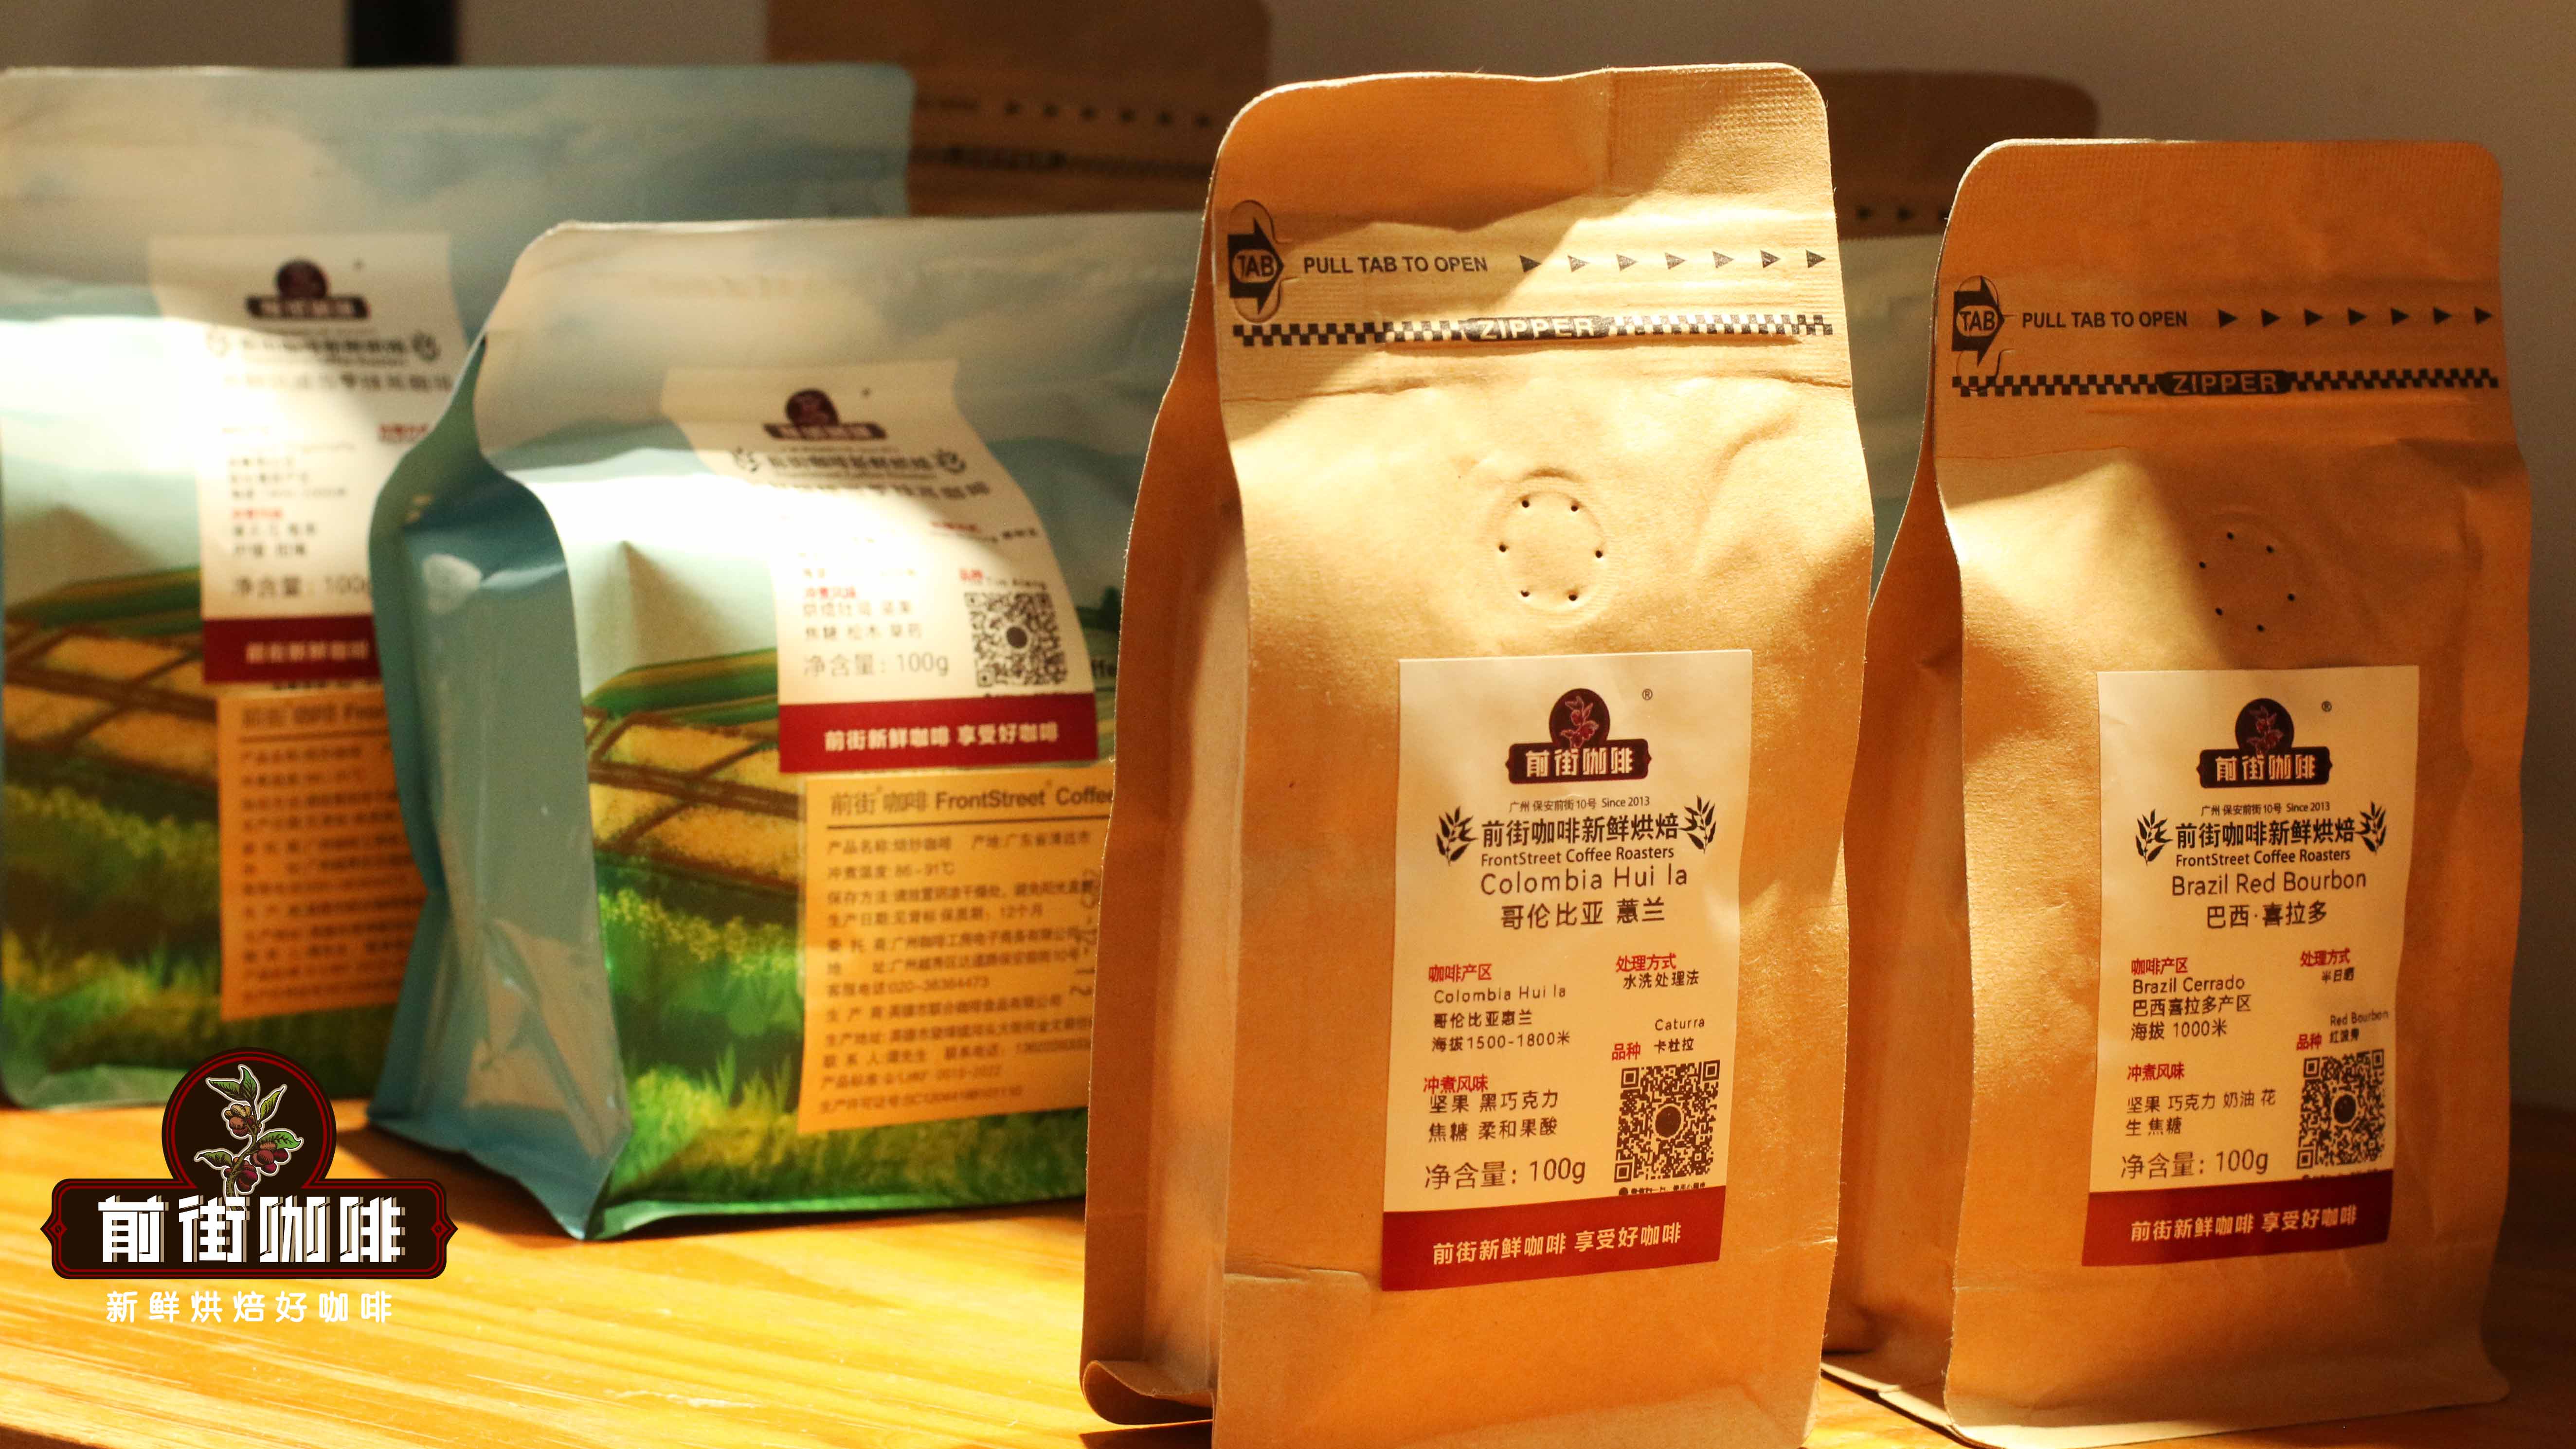
Based on Qianjie's experience, at the entry level it is best to first choose newbie-friendly everyday drinking coffee beans according to your own taste preferences; for one thing, it helps me quickly distinguish regional flavors, and for another, even if you practice several more times you won't feel heartache. Take Qianjie's everyday beans: if you can accept acidity, you can first try Qianjie Ethiopia Yirgacheffe;

If you like soft sweet-and-sour notes, you can choose Qianjie Costa Rica Tarrazu or Qianjie Rwanda Red Bourbon; if you want lower acidity, you can try Yunnan small-berry; if you want no acidity but nutty and chocolate aromas, you can choose Qianjie Brazil Cerrado or Qianjie Colombia Huila; if you fear acidity and love a full-bodied mouthfeel, choose Qianjie Indonesia Mandheling... Once you find an origin that suits you, you can continue to "dig deeper" into its finer regions, estates, and varieties.
Tip 1: Choosing the spout of the pour-over kettle
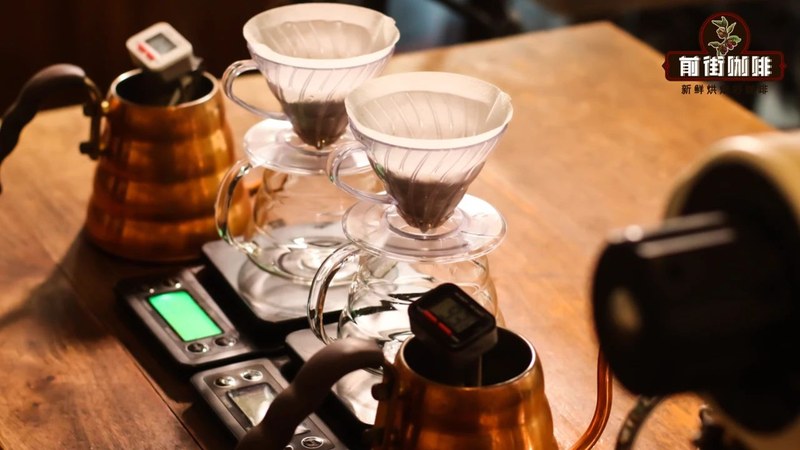
In the article "How to Choose the Spout of a Pour-Over Kettle", Qianjie explained that the spout of a pour-over kettle has a huge influence on the water stream, and this directly determines how easy or difficult our water control is (interested friends can go to that article to learn more). Generally speaking, Qianjie would recommend that beginners choose a "gooseneck hawk-beak" kettle when selecting a pour-over kettle. That is, one with a slightly longer neck and a spout with a smaller opening that hooks downward. Because these two features together can help beginners control the stream better.

But as the saying goes, you cannot have your cake and eat it too; they also have certain drawbacks. Because of the spout's limitations, it is hard to pour drip-by-drip or a larger stream, and the versatility is relatively lower. So how to weigh the trade-offs is up to personal choice.
Then if some friends have already bought a spout that is harder to control, they can choose to modify the spout like some seasoned players do. For example, Qianjie's pour-over kettle was violently converted from a flat spout to a hawk-beak with pliers, thereby reducing the difficulty of water control. But there is a prerequisite for modification: the pour-over kettle must be able to withstand prying and be malleable - this point is very important.

Tip 2: Controlling the water volume in the pour-over kettle
The amount of water in the pour-over kettle can determine how stable the pour is! Generally speaking, the more water there is in the kettle, the easier it is for us to control the stream. Because this gives the kettle body a certain weight, our center of gravity does not shift so easily. At the same time, it also allows a smaller tilt angle to pour a vertical stream, meaning it is easier to pour a vertical stream.

It should be noted that, with the blooming stage removed, the total time spent lifting the kettle during the entire pour-over process is at least about a minute and a half. Although that does not sound like a long time, it is no simple matter for friends with weak wrists. So it is best to work within your limits and keep the water volume within a range you can handle. Of course, you can also get used to it, because weight is something you need to get used to as well. Although we cannot currently control a heavy kettle very well, once we keep holding a kettle of the same weight for a period of time, the muscles will form a memory, and by then it will no longer be difficult to use.
Tip Three: The Motion When Pouring
Or rather, we can adjust our posture when pouring. Although most baristas pour with one hand, that is because they have enough strength and skill to support it. If you are new to pour-over brewing, Qianjie would recommend using both hands on the kettle to practice pouring. That is, hold the handle with your right hand and steady the lid with your left hand.

This motion not only reduces the burden on the right hand, but also stabilizes the kettle better and allows better control of the water flow.
Tip Four: Practice When Pouring
Finally, there is practice when pouring! First, what we need to master is pouring a continuous vertical stream of water! Although it sounds very simple, it is actually somewhat difficult to do.

Because the hot water in the kettle continuously decreases as the stream is poured out, the tilt angle required to pour a vertical stream keeps increasing. It is just like latte art, where the coffee cup needs to be tilted back continuously as the milk is poured in. Therefore, the first thing we need to practice is keeping the stream vertical the whole time. At the beginning, practice pouring a vertical stream at a fixed point for the whole time; once you have learned that, then start practicing circular pouring.

For circular training, you keep the water column vertical while continuously circling. This circle can be a fixed large circle or small circle, or a mosquito-coil circle (that is, spiraling from a small circle out to a large circle, and then from the large circle back to the small circle).
As for the circling motion, Qianjie recommends using the arm rather than the wrist to control the movement path of the pour-over kettle. Using the arm to control the water flow can ensure that the pouring height stays at the same position, so when circling and pouring, the only things we need to adjust are the tilt angle of the kettle and the movement path. At first, we can slow the circling speed appropriately, and then gradually increase the circling speed as our skill improves. When you can control the water flow freely at any speed, that means you have become a master of water control!
Related Reading




Comments (0)
Loading comments...
You May Be Interested




Trending Reviews
Popular Videos

With you, wherever you are! We provide useful features to help you find new things you'll love