Source:Best Coffee > News Author:qjroot Published:2026-10-09 09:34:43
The moka pot looks like a small metal device, but inside it hides a clever pressure system. The whole pot is divided into three spaces: the water chamber at the bottom, the filter basket in the middle, and the collection chamber at the top. When heated, the water in the lower chamber is boiled into steam, creating an upward pushing force; the hot water travels along the central tube through the layer of coffee grounds, carrying out the flavor compounds, and finally flows from the top spout into the upper chamber. You can think of it as a mini steam locomotive: the steam is the power, the coffee grounds are the scenery along the way, and what arrives at the end is a cup of rich coffee liquid.
Choosing the right beans is the key first step. The moka pot extracts by pressure, and medium-dark roasted beans fit especially well in this environment; the sweetness and oils brought by the caramelization reaction can both be fully brought out. Qianjie Classic Blend is a choice born for this purpose. It combines three kinds of beans: Brazil, Mandheling and Robusta. After medium-dark roasting it presents aromas of butter, toasted bread and caramel cookies, with fine oils and stable extraction, handling both Americano and latte with ease. If you want a more intense cupping experience, Qianjie Commercial Blend is also worth trying: Brazilian and Colombian Arabica paired with a small amount of Robusta, bringing caramel sweetness with layers of nuts, cocoa and dark chocolate, with a sweet-acid balance that leaves a deep impression.
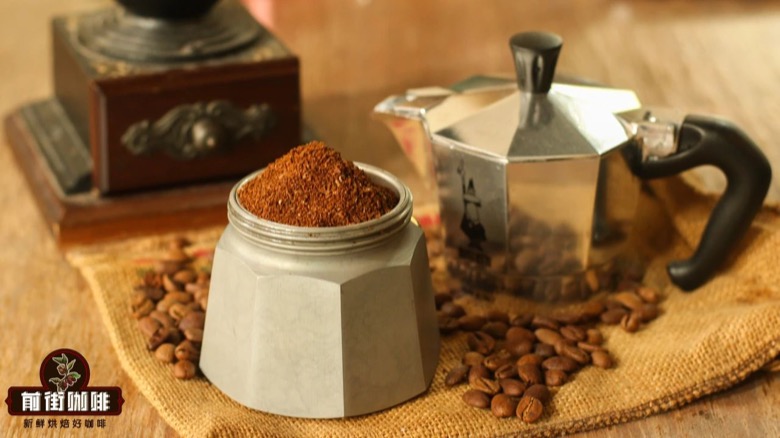
As for grind size, beginners tend to swing between two extremes. If ground too fine, the coffee layer is airtight, the steam is trapped in the lower chamber and cannot get out, and pressure keeps building; at this point, if you hear an abnormal muffled sound from the pot body but see no coffee liquid rising, you should immediately move it away from the heat source. If ground too coarse, it is like a sieve that cannot hold back the water flow, and the coffee liquid will spray out, which is both wasteful and dangerous. Qianjie suggests grinding the beans to a fine-salt-like coarseness, around 3 to 3.5 on the EK-43s, with even particles and a slightly rough feel; this state allows the water to pass through the coffee layer with just the right resistance.
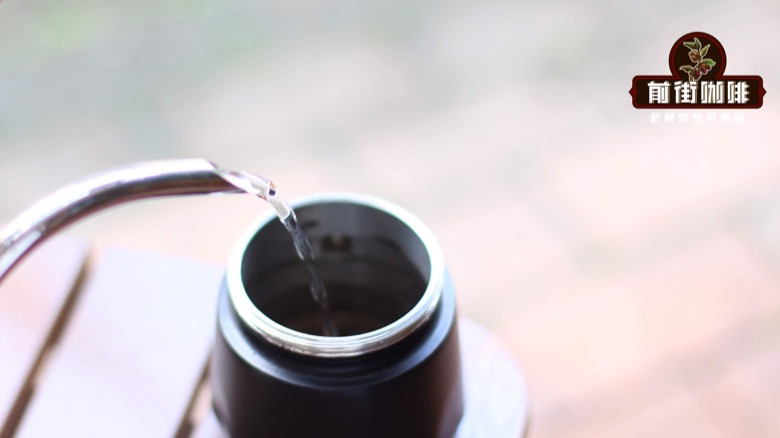
The actual operation starts with filling water. Pour 80 to 140 ml of purified water into the lower chamber, with the water level stopping about half a centimeter below the pressure relief valve. This valve is the safety bottom line; once the water level covers it, water will overflow from the valve when boiling, which both affects pressure buildup and easily causes scalding. Next, put the filter basket into the lower chamber, pour in the ground coffee, tap lightly a few times to distribute the coffee layer evenly, then use your finger to level it along the rim of the basket. Do not tamp it; keep the coffee layer naturally loose. Finally, screw the upper and lower pot bodies tight, making sure there are no coffee grounds left in the threads, otherwise the seal will not be tight and pressure will leak.
For the heating stage, an electric ceramic stove is recommended, as the heat control is gentler than an open flame. At the start, use medium-low heat to let the heat penetrate evenly, and keep the lid open the whole time, so you can observe the liquid output and avoid steam scalding. When a continuous humming sound comes from the bottom of the pot, it means the water has begun to vaporize and push the liquid upward; at this point, turn the heat down a bit more. From heating up to liquid output, the ideal time window is between 1 minute 15 seconds and 2 minutes 30 seconds. Too short means the heat is too strong or the grind is too coarse; too long may mean the heat is insufficient or the grind is too fine.
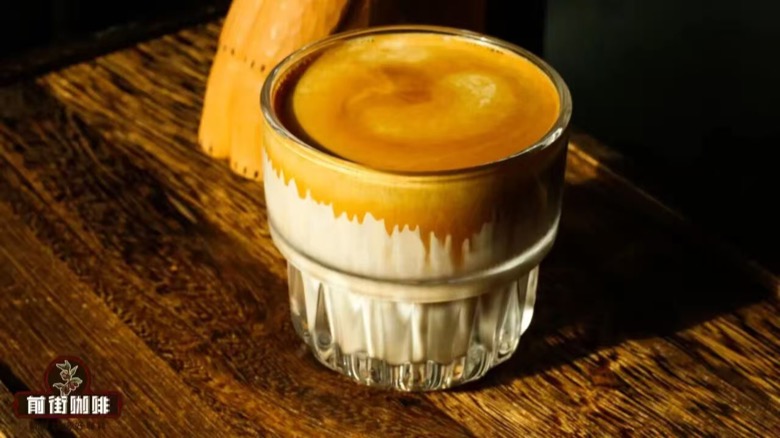
At the moment the coffee liquid surges out from the upper pot's spout, you will see a thick brown liquid with a fine layer of foam; this is the moka pot version of crema. When the coffee liquid in the upper pot accumulates to about half capacity, decisively turn off the heat source, and leave the remaining extraction to the pot body's own residual heat and pressure. This timing for turning off the heat is especially important: doing it early avoids the burnt bitterness of over-extraction, while doing it late easily lets off-flavors from the tail end mix in. After the liquid surface settles, pour the coffee into a preheated cup. Drunk on its own, it is a rich espresso style; added to four times its amount of hot milk, it becomes a smooth milk coffee. For example, 45 ml of espresso with 180 ml of milk, a ratio that just supports the coffee's aroma without being overwhelmed by the milk flavor.
For beginners still feeling their way, Qianjie Queen's Estate is a very forgiving entry-level single origin. The Yellow Bourbon variety naturally has a mellow profile of nuts, cream and chocolate, and its sugarcane-like sweetness means that even a slightly over-extracted cup is not hard to swallow. Once your technique is stable, you can advance to the deep-roasted charred aroma of Qianjie PWN Qianjie Mandheling or the balance of Qianjie Colombia Huila. Every adjustment of grind and heat is a way of building rapport with this little pot. The charm of the moka pot lies in this tangible sense of participation: from the change in the sound of the water to the overflowing aroma, the whole process reminds you that good coffee is waited for, and also heard.
Related Reading



Comments (0)
Loading comments...
You May Be Interested






Trending Reviews
Popular Videos

With you, wherever you are! We provide useful features to help you find new things you'll love